|
Painting a RotJ Boba Fett
Helmet
|
| OK, Here's some step-by-step instructions from the illustrious Steve the
Swede, on how to create the perfect RotJ Boba Fett paint job. |
 |
 |
| Steve's helmet started out as an original
Don Post fibreglass Deluxe (left), but that doesn't mean to say you
couldn't use a copy of a Deluxe, or even one of the original (standard)
Don Post helmets
(e.g the white interior '96's) |
 |
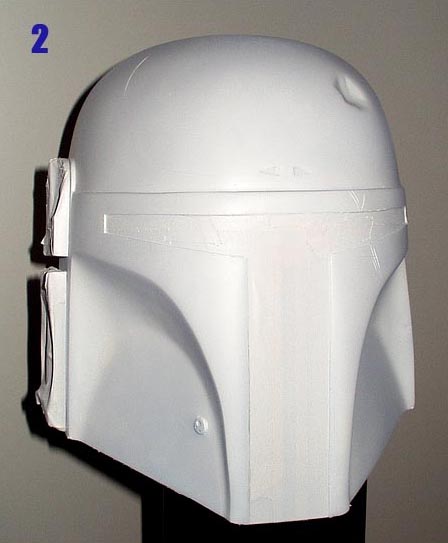 |
Steps 1: The DP/Deluxe have been stripped of
the old paintjob and the inaccurate "Dremelled" grooves have
been filled with putty and sanded. New accurate scratches were added to
the fiberglass using a thin needle file.
Step 2: The helmet has now been primed with several coats of matt white. |
 |
 |
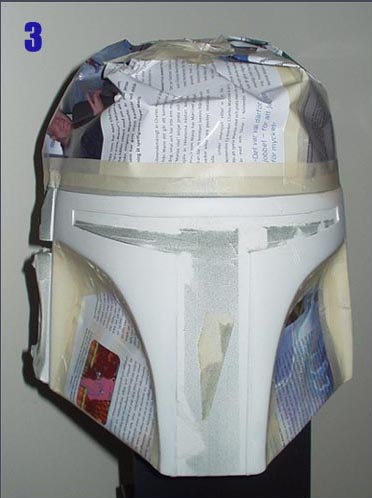
Step 3: The front visor area has now been
masked off so airbrushing can begin.
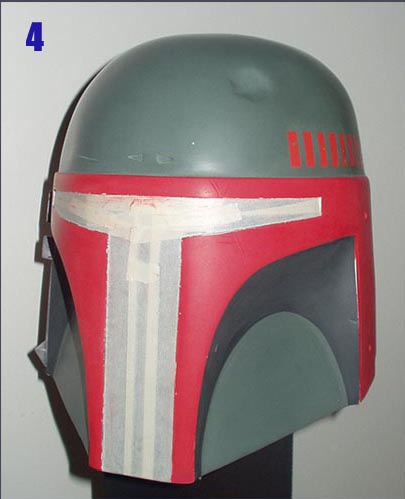
Step 4: All the main colours have now been been painted.
We are now almost half way through the project (the easy half).
Time to go out and drink copious amounts of any alcoholic beverage you can
find!
|
|
|
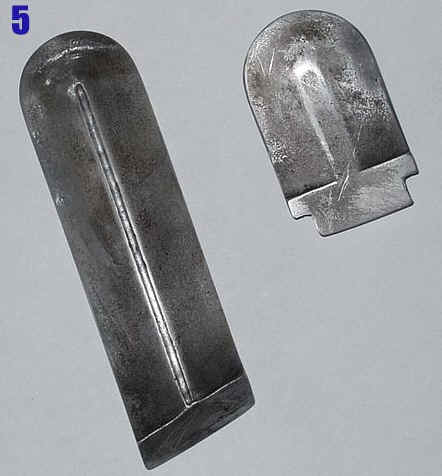
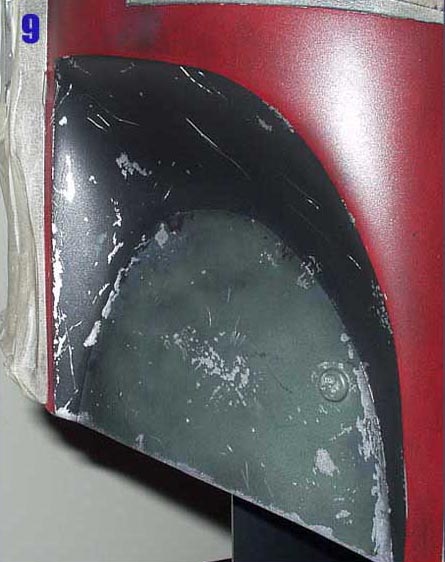
Step 5: The "ears" on the DP Deluxe
are made of metal, so all that's required is to add some fake dirt and
rust for that "been around the Galaxy a bit" look. This was done
with artist oil paints applied with a sponge.
|
 |
 |
|
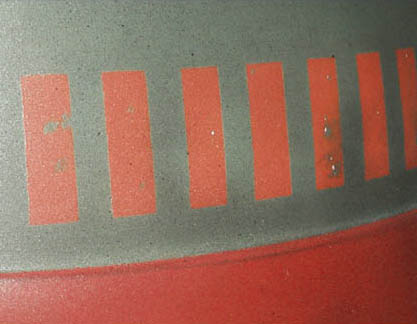
Step 6 and 7: The helmet has been weathered both by using a "pastel"
powder and also by creating a "misting" effect using
both black and gray spray paint. The detail in the effect can be seen in
detail below.
|
|
|
 |
 |
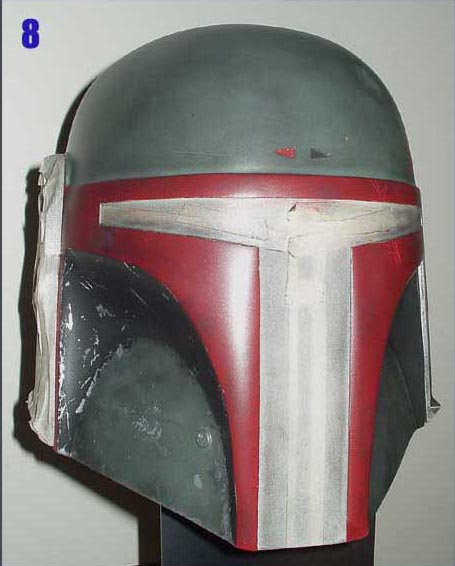
| Step 8 and 9: "Scratches" were added to the
helmet topically using a sponge rather than a brush. The sponge has been
cut so it has a "pointy" tip. The paint used for the
"scratches" was Humbrol's aluminum metal coat. |
 |
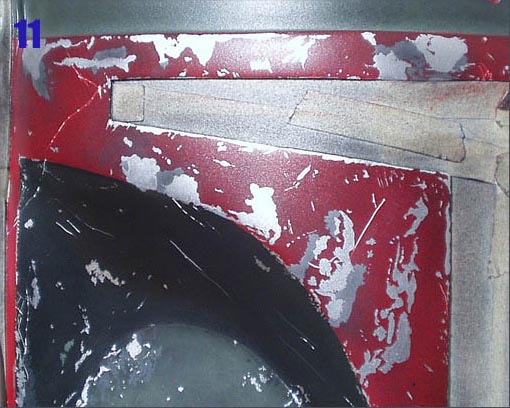 |
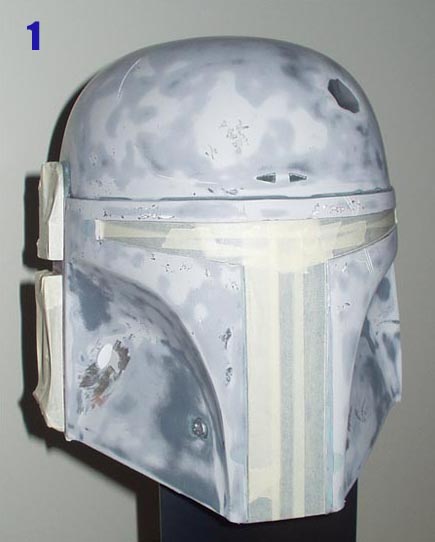
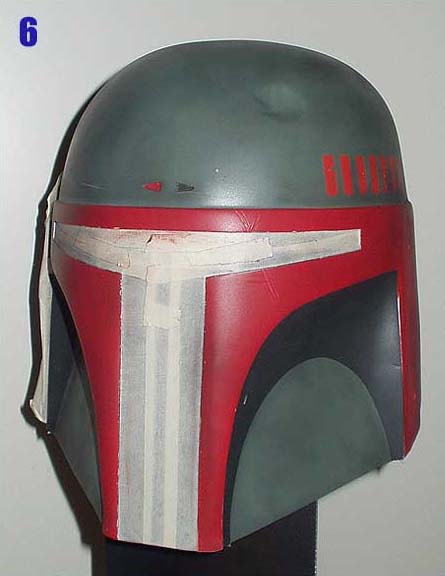
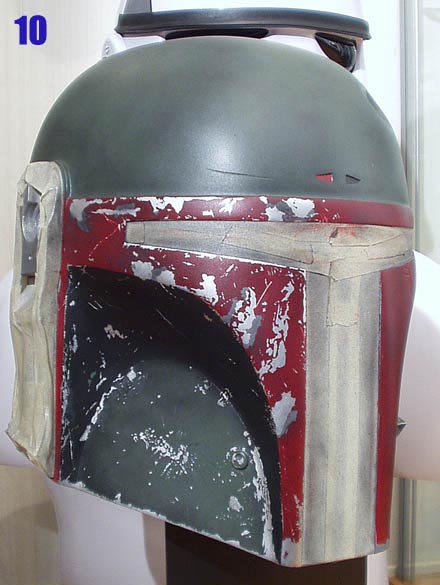
| Step 10 and 11: More scratches have been added,
copying the design of the reference photographs. The subtle gray areas
were also applied topically using the sponge technique described earlier.
The thin scratches were added with a screw driver, allowing the white
primer to show thru.
Finally, I "over-sprayed" certain areas of the helmet with
blue/gray acrylic paint making some of the silver scratches appear
darker, just like the real prop.
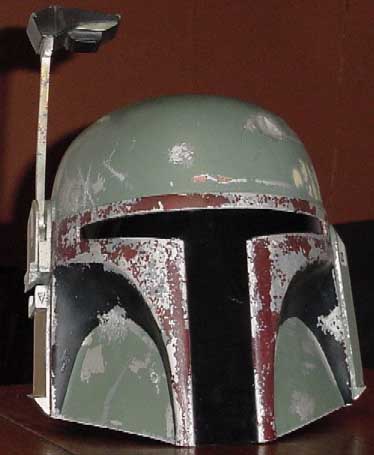
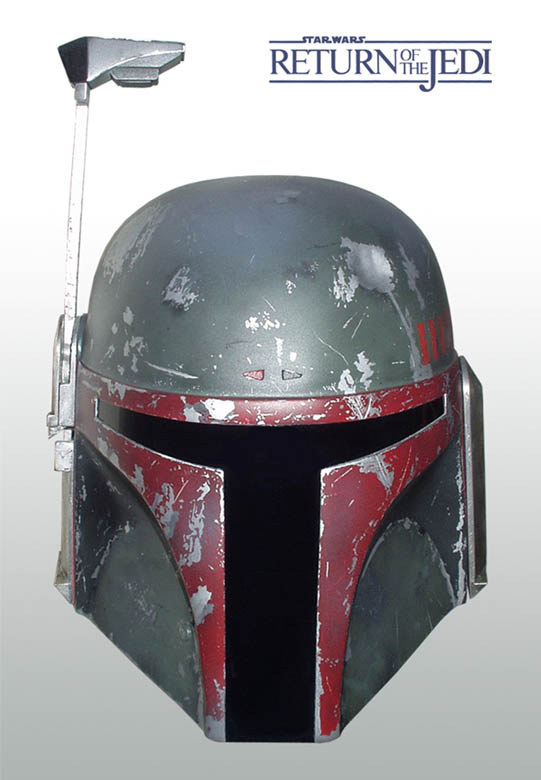
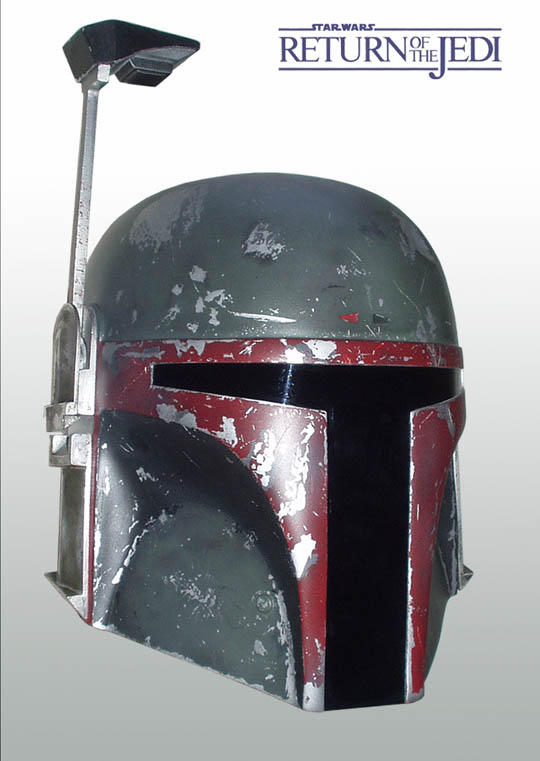
Step 12: The masking is removed, and the helmet is finally
complete. Now for a REAL drink! |
|
|
|
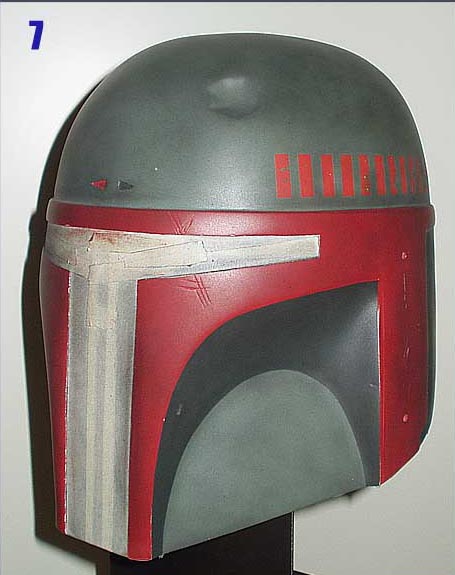
The finished article. Eat your heart out ILM! |
|
|